A 90's Kitchen Makeover
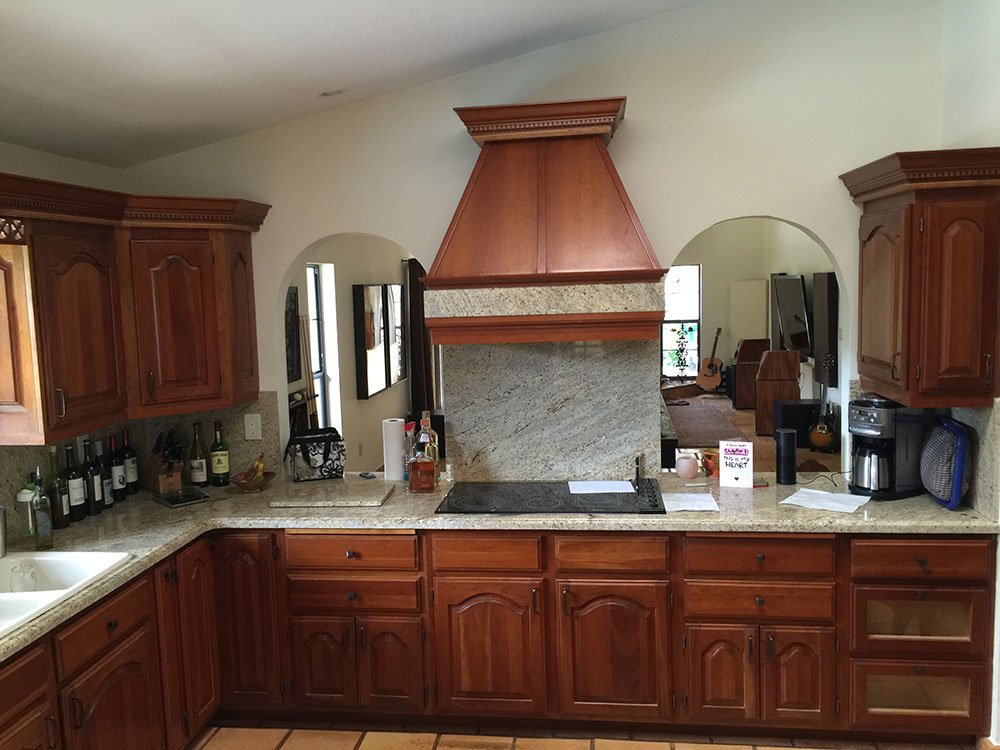
Obligatory "Before" Photos
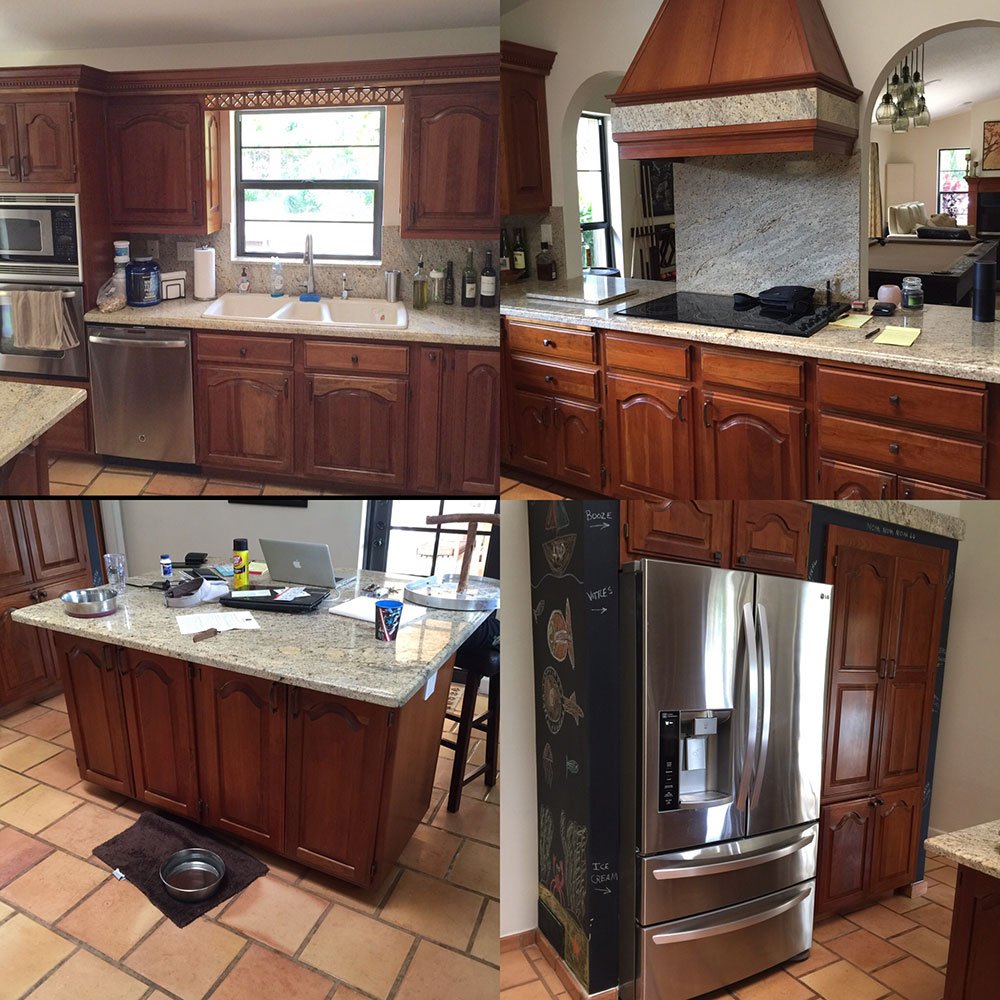 Obligatory Before Gallery
It was a 90's kitchen in an 80's house and, as dated kitchens go, this one really did have its charm. The classic cabinets, the chalkboard paint, the Saltillo floors and the super awesome skylight made for a charming space where friends and family gathered. Good times. But....this kitchen was begging for an update. At night it would whisper..."The 90's called. They want me baaaaacckkkk." So we took the hint...
First order of business:
Open up the space. The original kitchen had two little mini arches which was blocking off the mojo to the living area. Soooo...
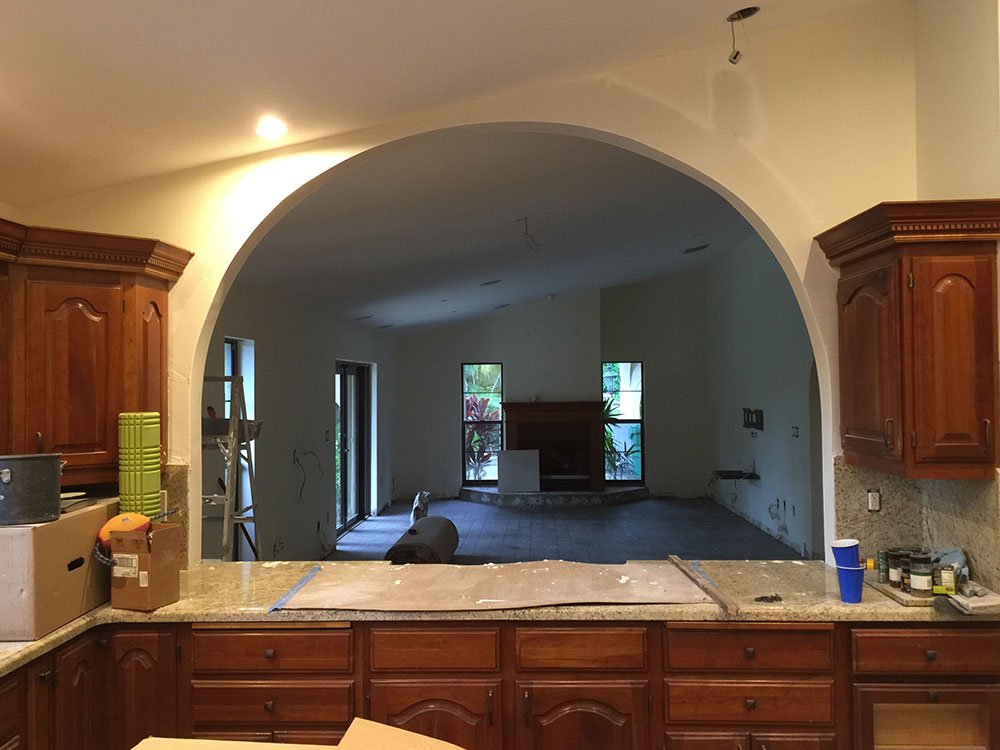
Voila!
We opened up the arch! It really wasn't in the budget to knock out the whole wall and we didn't want to lose the cabinets there anyway so this was the next best option. It really opened the space and now there's no disconnect between the hostesses and the guests at all the crazy, wild parties. So many crazy, wild parties. Sigh. She looked wistfully off into the distance...
(If you look beyond the arch, you can see that there are some shenanigans going on in the great room as well. Look to future posts for the great room makeover).
What about the floor?
The next thing to address was the flooring. Saltillo is pretty enough but, oh so high maintenance (!) and we wanted a more contemporary look. So alllllll the Saltillo came up. 2000 square feet! The entire house. You can read a bit more about the removal here:
YOU DON'T HAVE TO BE TERRIFIED TO REPLACE YOUR TILE FLOOR
And we replaced it with a wood-look tile from Porcelanosa, called Hampton Brown.
And the cabinets...
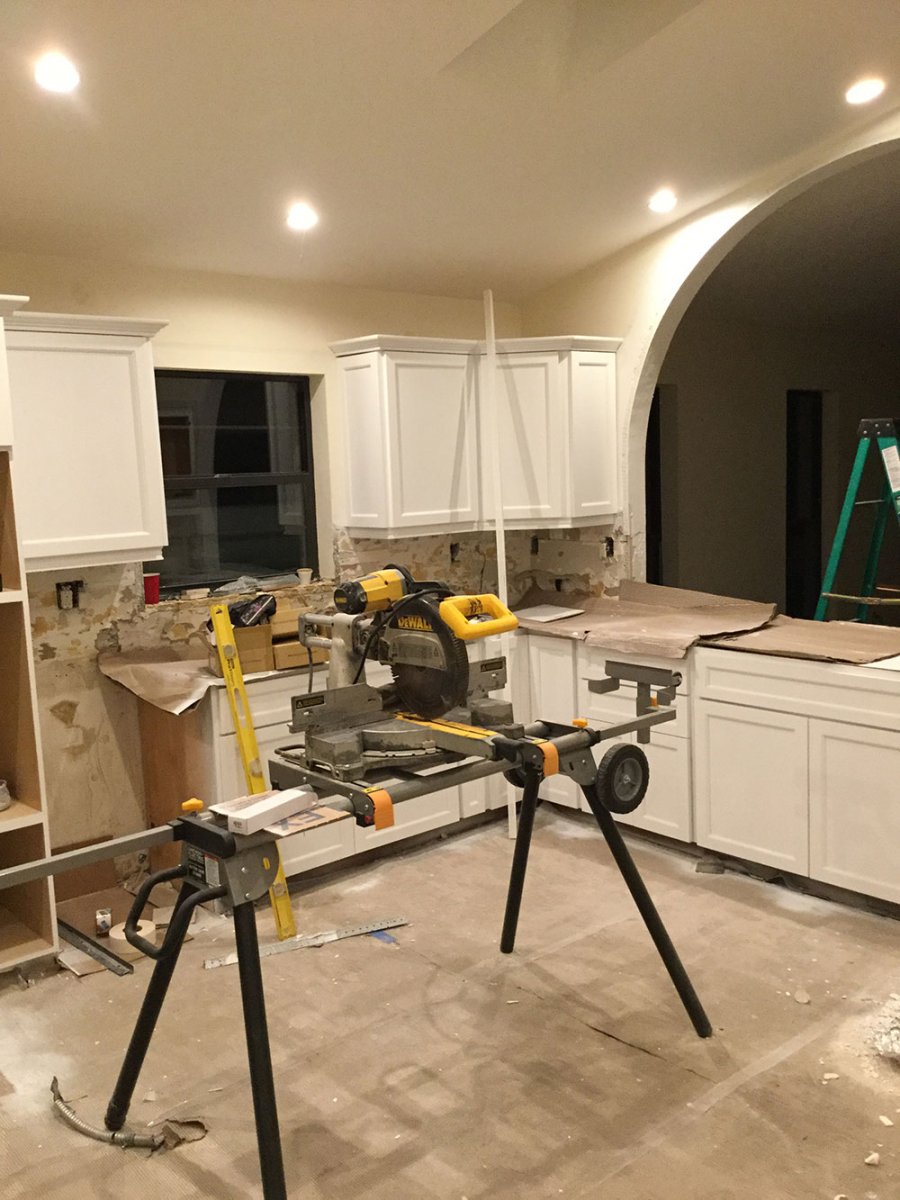
Next the cabinets! They were in excellent shape and, since the budget did not allow for a complete replacement, we decided to paint the existing boxes and update their style by adding new doors and drawer fronts. And by "we" I mean "we" paid someone else to paint them. Hey, I am not dumb.
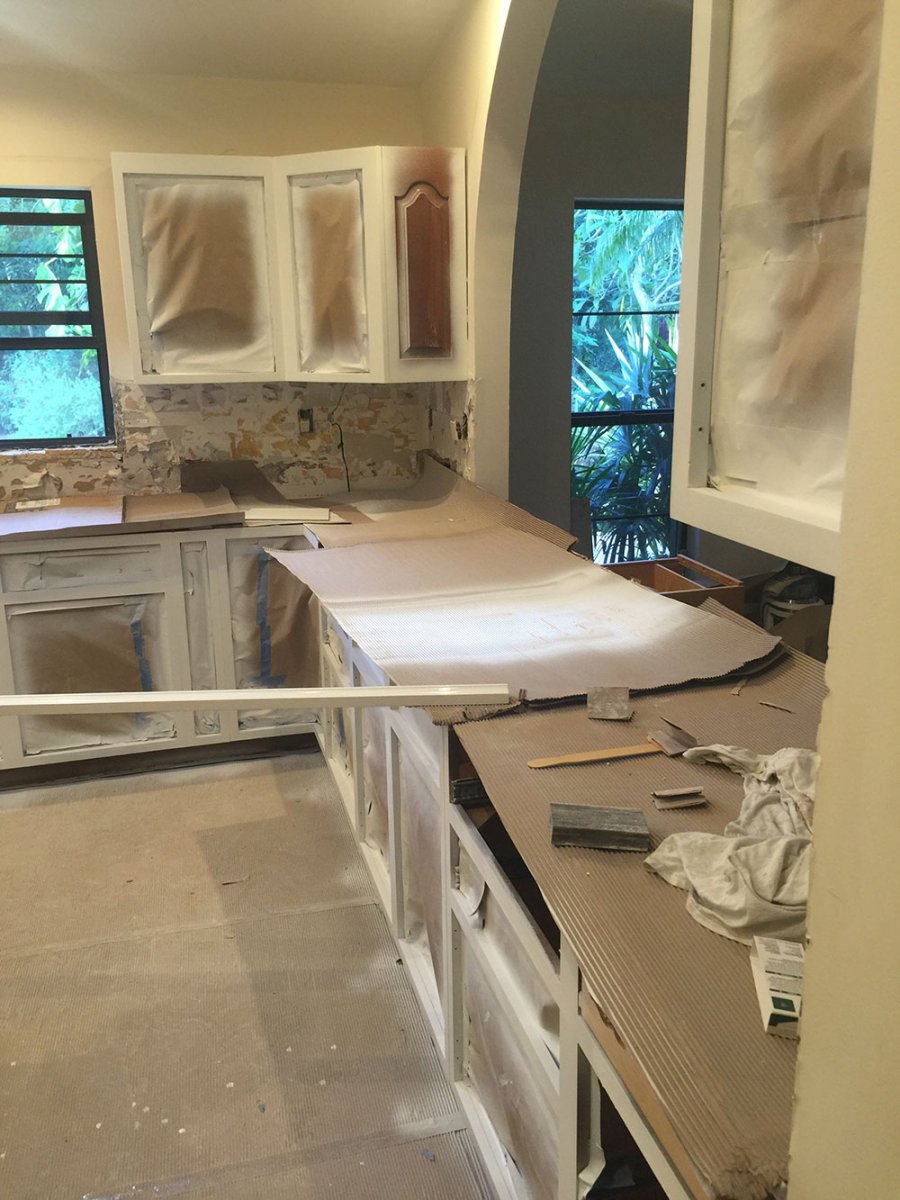
See that little-unpainted box section? We couldn't replace as it was part of the actual box structure so we had to fake it with a new "door."
 Can you spot the fake out?
The Island!
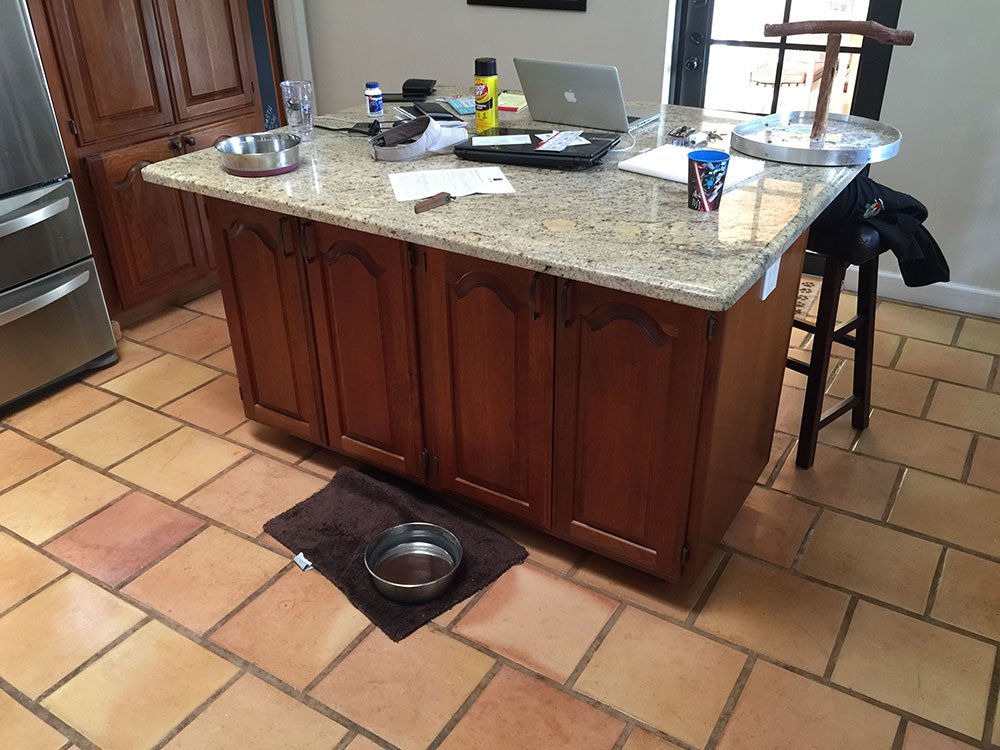 The Island Before
Don't you just love how messy all the before pics are?
Since we were painting the cabinets white, I wanted the island to have a bit of contrast. Since I have a lot of black accents in the house, the natural choice for me was black... well, almost black. More like an espresso. Black with a brown undertone.
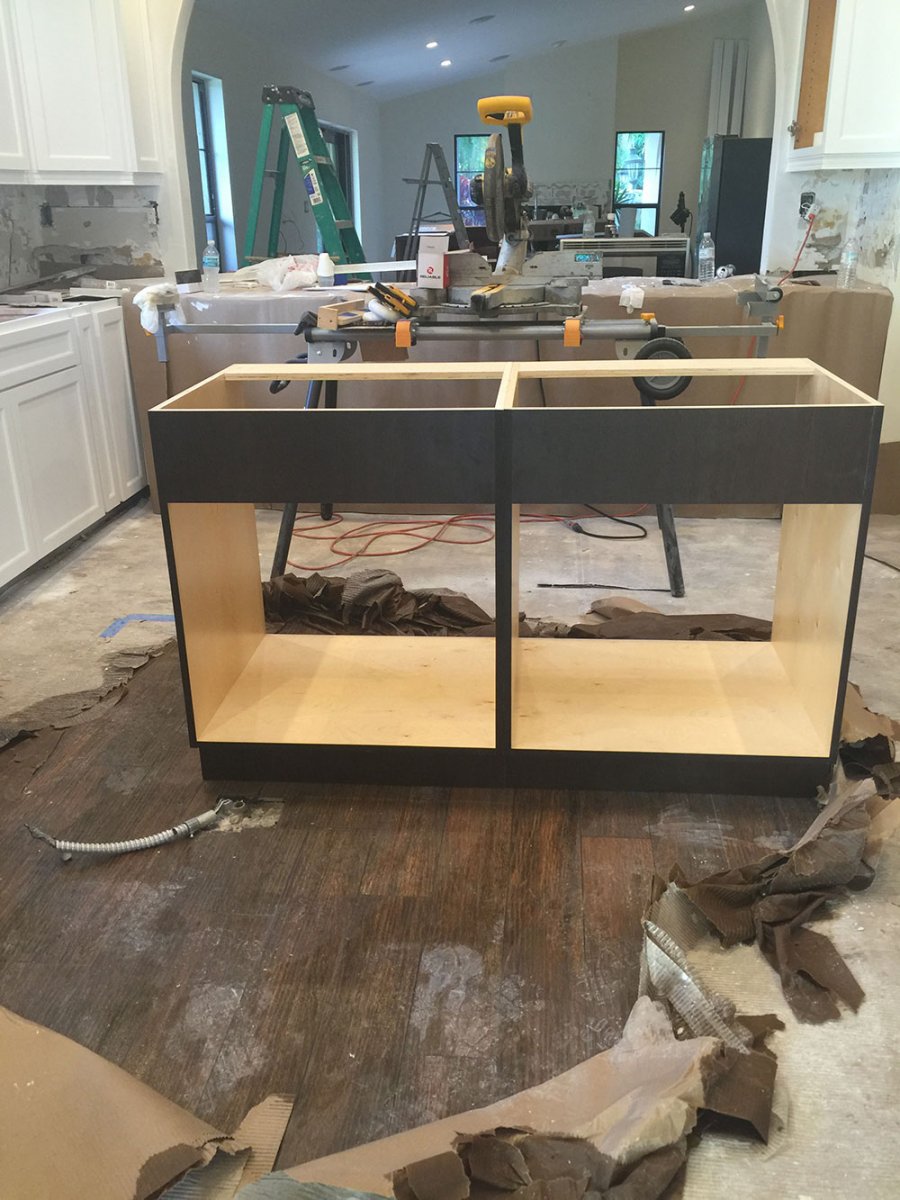
And actually, the island needed to be built from scratch as the existing one liked to sway to and fro. Have I mentioned wild, crazy parties?
The Counters
We ditched the existing, builder-grade granite and splurged for quartz for the countertops. Again, wanting a more contemporary look, we extra, extra splurged for the "waterfall' effect on the island. Lots of splurging.
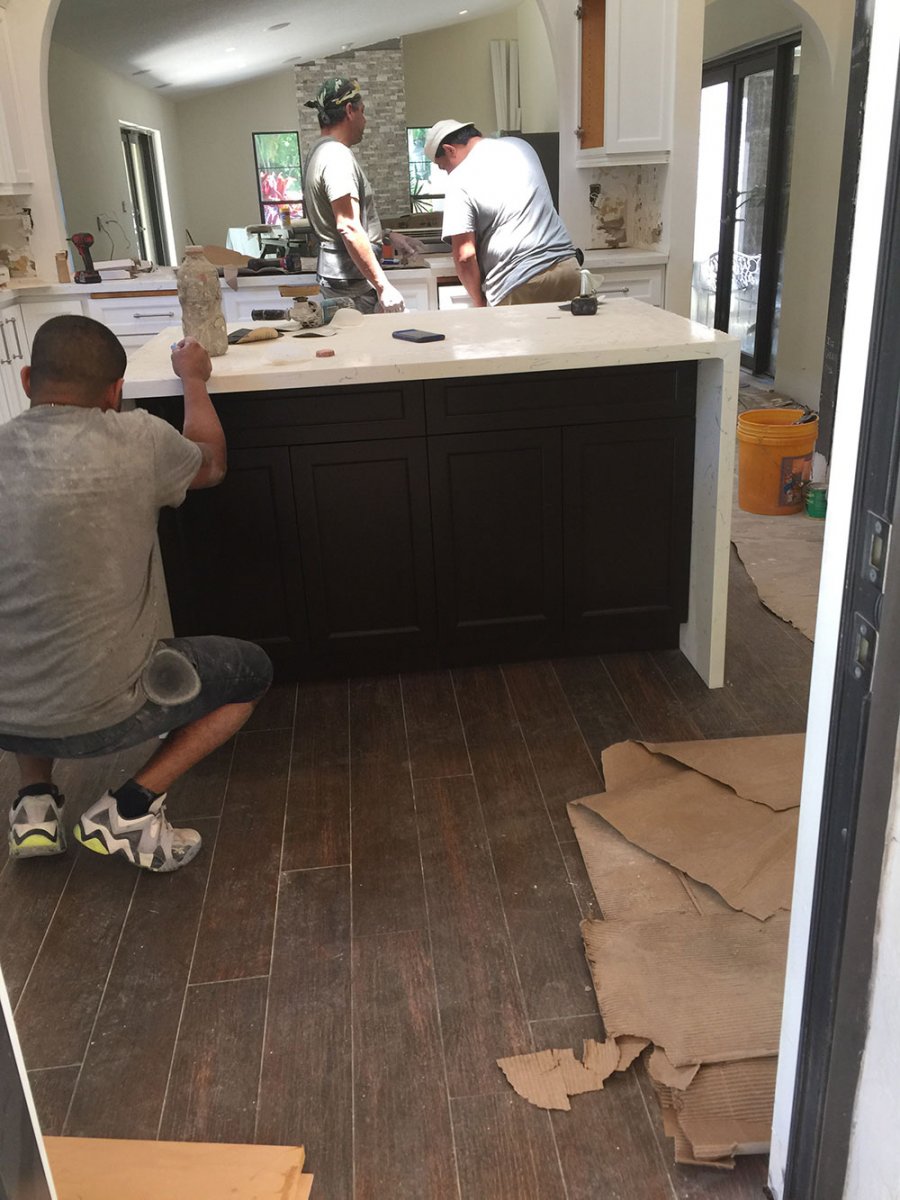 "Don't go chasing waterfalls..."
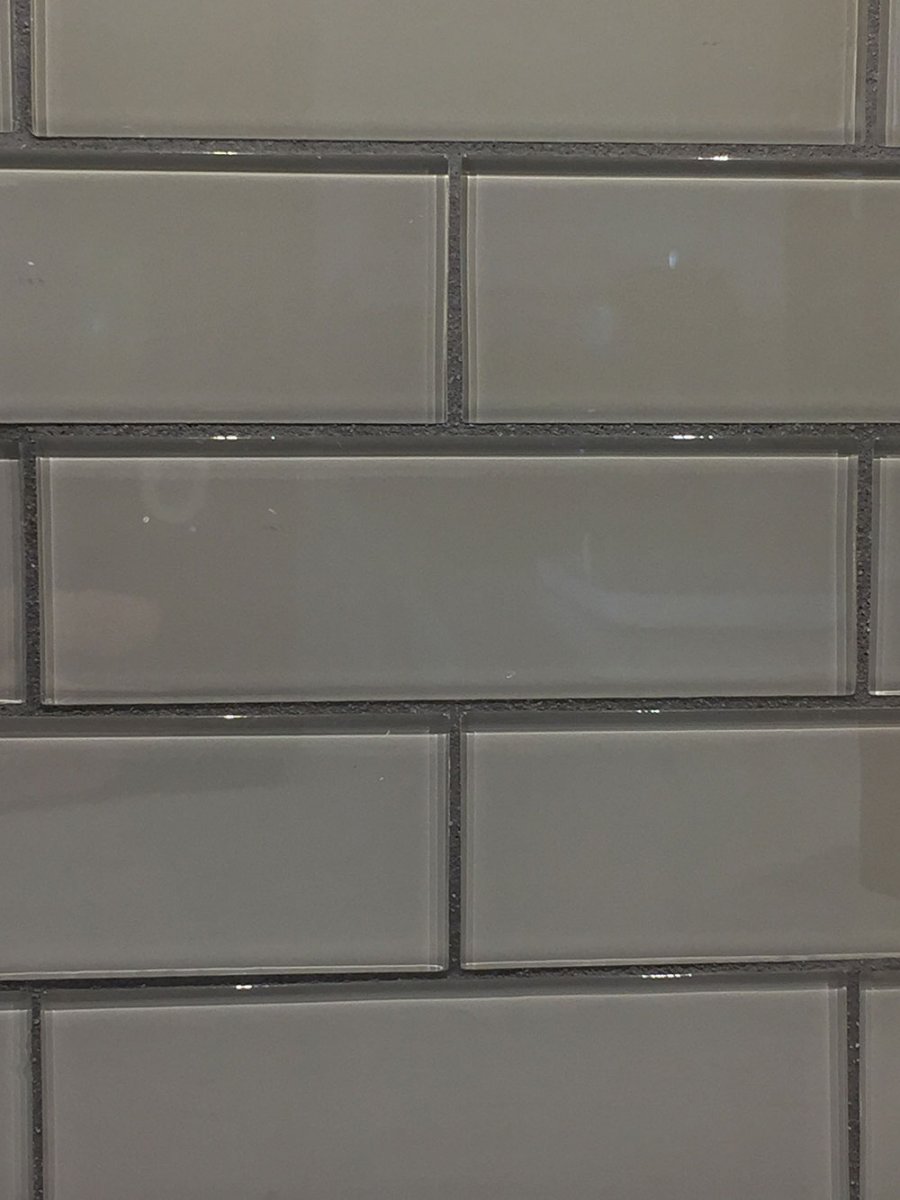
The Backsplash
For me, simpler is better. I wanted a backsplash that would fit in the budget but yet be classy, streamlined and elegant. I chose a glass subway tile in taupe. Nothing crazy. Nothing pricy. Just simple. Just pretty.
The Wall
Here we did another splurge (splurges have the most impact on focal points). Since we had opened up the archway, the view of the kitchen from that great room was now a HUGE consideration. And that wall, ugh. We tried painting it but that turned out awful. The drywall work that had been done by the builder was utter crap so, again, wanting to keep it simple and true to my aesthetic of "earthy elegance," I picked a natural material; split face stone.
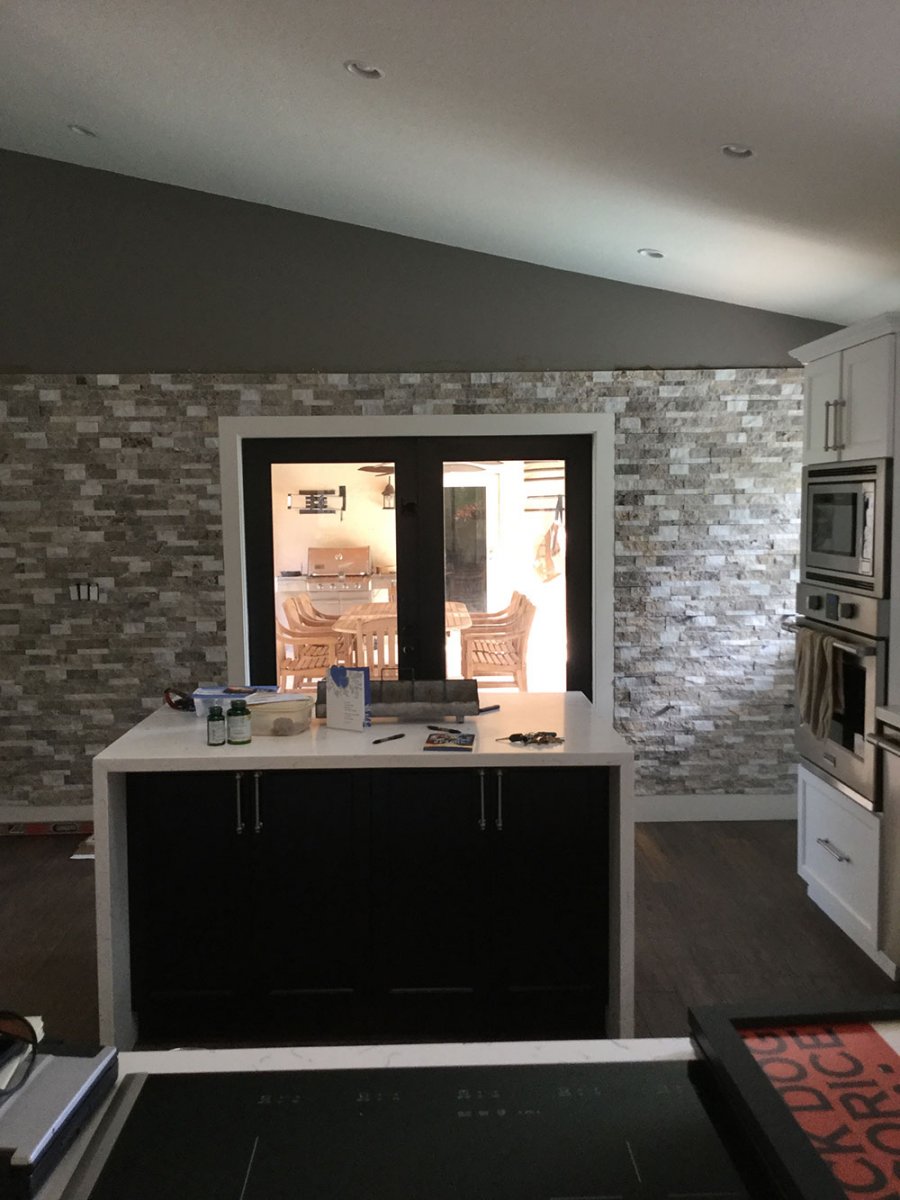
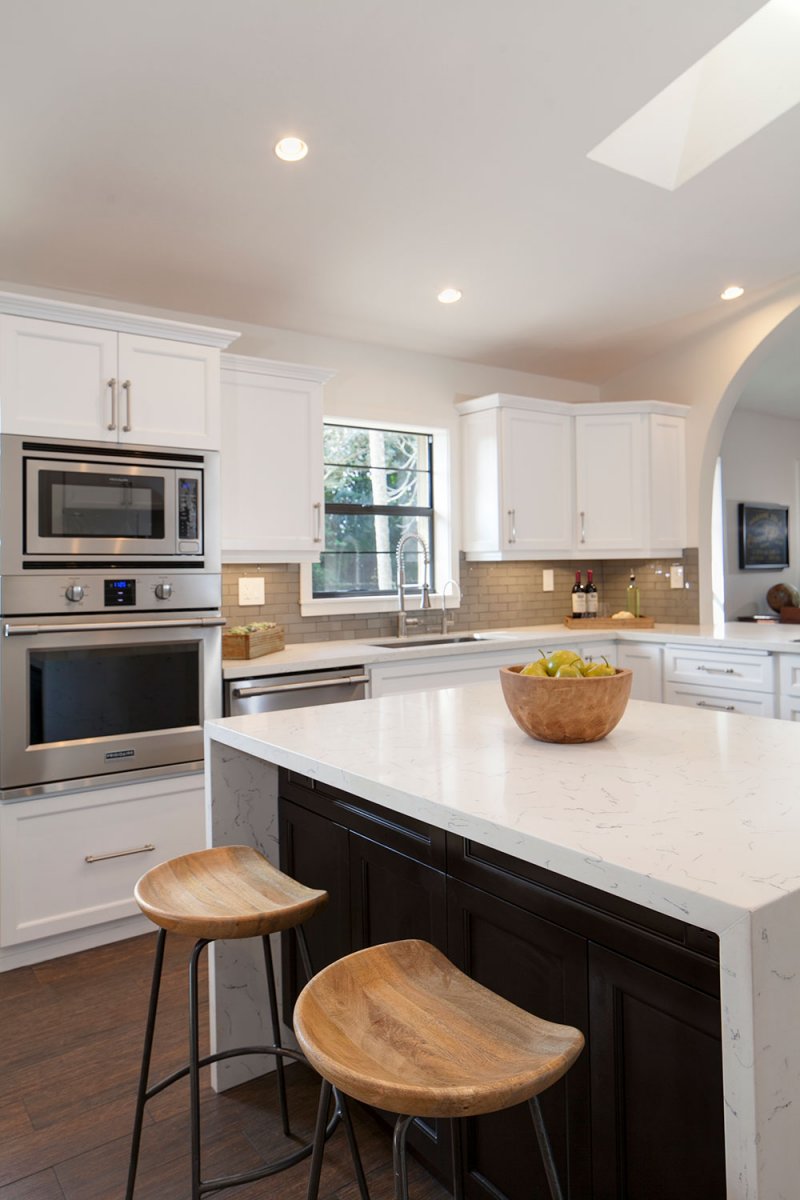
And The End Result
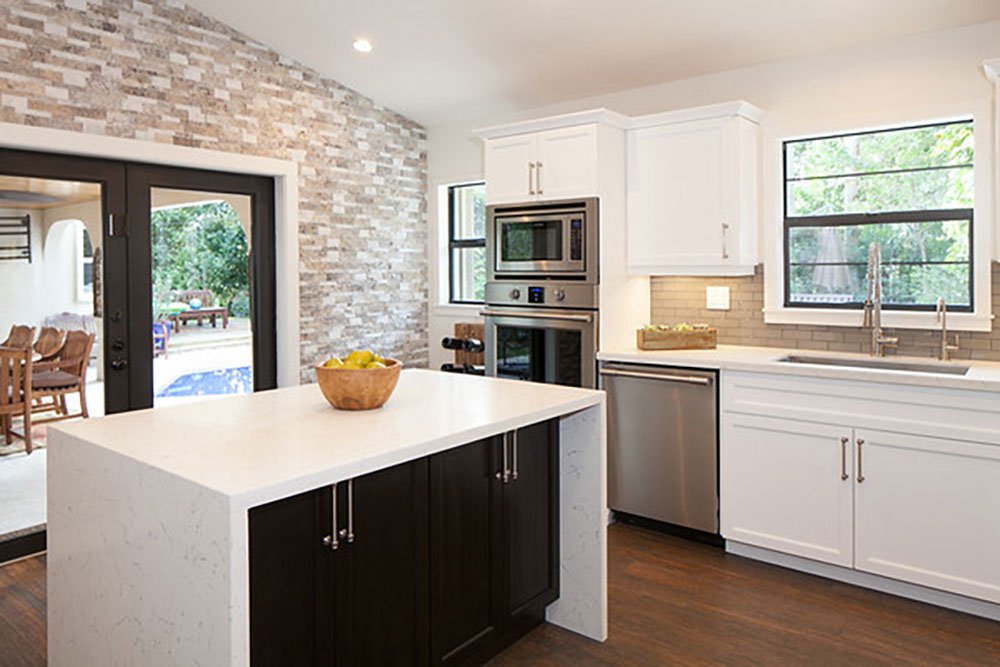


We finished off the look with bar stools from West Elm and some decorative items we had lying around the house.
"But Darla," you're saying,"what about the vent for the stove?!"
Oh, Ye of little faith...
Expertly filmed in portrait mode. Oops
In the end, we spent a bit more than we originally planned (quartz waterfalls and stone walls) but we did save a butt-load of money on the cabinets by keeping the original boxes and refacing them. The backsplash was also extremely budget friendly at under $2.00 a square foot! We could have saved even more money by reinstalling the overhead vent but adding the Bosch Downdraft helped us to keep the new LARGE arch open and uncluttered. It was a design no-brainer.
Still, remodeling your kitchen, even with these tricks, is a pretty big investment and you'll want to make sure that you've hired a competent designer and contractors so do your research. I just happen to know some people...
If you have been thinking of remodeling your kitchen, whether on a budget or the sky is the limit, give us a call. We would be thrilled to transform your space.
786-769-3455
Thanks for reading. See you next week!